Monday, July 12, 2010

Increase Depth of Focus in Macros

A limited depth of focus is one factor to consider when composing any photo, but it becomes especially important for macro photos. All other things equal, the closer you get to your subject the shallower the depth of focus. You can leverage that to create some interesting moods, but sometimes you want a sharp focus across the entire image. In some instances you can get by with lots of light and a small aperture to improve the focus. That might not always be feasible or possible.

One alternative I recently “discovered” was sitting right in front of my eyes in Photoshop CS4. Photoshop lets you blend a series of images where the planes of focus in the series span the object. Here's how:
1 – Select your images in Lightroom (Note they should be organized in order by plane of focus)
2 – Select Photo->Edit In->Open as layers in Photoshop
3 – In Photoshop, select all the layers and align the images (Edit->Auto-Align Layers, use auto projection)
4 – After the layers are aligned, then blend them together (Edit->Auto-Blend Layers, Stack Images and seamless blend)
Let it run and then, voila – an image that is crystal clear in focus from the first focus plane to the last. You can flatten the image and save the result.

Here is an example using a dried leaf that wasn't pressed so it curled a bit. The first two images are the first and last frames in the sequence of focus across the leaf. I took about 12 images from start to finish. In the first image, the point closest to the camera (the central part of the leaf near the stem) is in focus but the tip and edges of the leaf are blurred. In the second image, the tip of the leaf is in sharp focus but the base of the leaf is blurred. Click on either image to see a larger version.
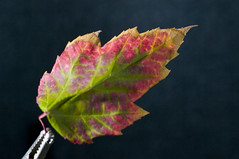
Ridge of the Leaf Tip of the Leaf


The image below is the result after blending all the planes of focus in Photoshop. By masking and blending the sharp parts of each image, Photoshop forms a composite image where everything is in focus. It takes a bit of extra work, but if you want a larger depth of focus this technique works well. Give it a try.
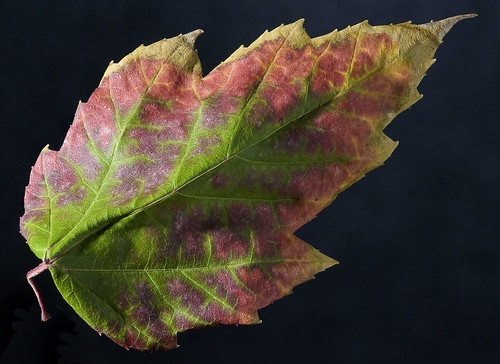
Maple Colors

Friday, June 25, 2010

The Sodastream

A couple weeks ago Dianne and I were visiting Rookwood Commons to get some frozen yogurt at Yagööt – a favorite for Dianne. We were there during the day and decided to take a walk around the commons. One of my favorite stores to visit there is Sur La Table, a cooking store. We stopped in to look around and one item caught my eye. The sodastream (shown at right) is a unit that lets you carbonate your own water. I was drinking a lot of diet soda and the cans were piling up in our recycle bin. I also like sparkling water (San Pellegrino is my favorite), so the unit seemed like a great idea. Dianne knew it was over as soon as I saw it. It took me a couple minutes, but I made the impulse buy and picked up some diet root beer flavoring and fruit essence flavors.

It was one of the best impulse buys I’ve made in a long time! I use chilled, filtered water from our Brita pitcher to fill the bottles. Using near ice cold water makes the carbonation process more effective. You connect a bottle to the unit and open the carbon dioxide valve in short bursts until the release value kicks in at least three times. Remove the bottle and cap it until you use it. It only takes a minute! I usually keep one of the bottles as plain sparkling water and add some flavor to the other bottle. The diet root beer flavoring is pretty good and the fruits are good too, although adding a couple drops of lemon juice or lime juice (or both) works just fine too!

If you like sparkling water, I highly recommend the sodastream unit!

Monday, May 31, 2010

Skittles Tube Sock

I don't typically eat Skittles, but this commercial just might make me go out and buy some. It is SO weird I love it! The Skittles folks owe their marketing group big kudos for this one. Enjoy if you haven't seen it yet.

Sunday, May 16, 2010

The Look of Bugs

If you're in to microphotography of insects and insect parts, you have to check out the work of Charles Krebs. The video below is a news story from Seattle that gives a good amount of information on his technique. I like the fact that he uses what he has and improvises to get some beautiful photos of insects. Go to his web site to see many wonderful photos. Thanks to The Strobist for pointing out this one.

Sunday, April 11, 2010

Spring Is Here

Early Spring Garden-2After several days in a row with temperatures way above normal, Mother Nature got a huge push to get plants going. It seemed like the daffodils came up in just a few days, everything greened up, and the flowering trees came into bloom. It's a beautiful time of year when the Winter greys disappear.

I made a trip over to Michele's garden -- my first visit in the Spring. It was a beautiful, sunny day. There were several types of daffodils in bloom. One is shown at right -- taking using a fill flash to get some light into the center of the flower. A fill flash also creates some shadows that give a bit of depth to the straight on view.

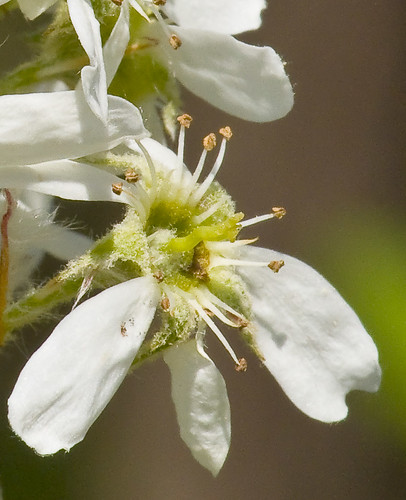
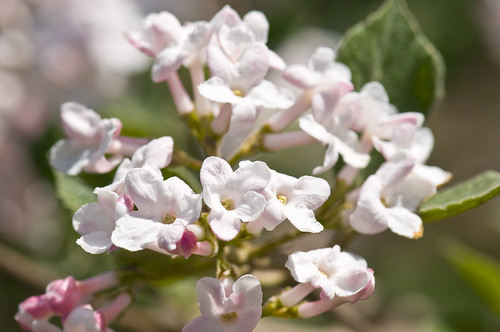
There were lots of flowering trees to look at too. The photo below shows a close-up of one of the blossoms.

Early Spring Garden-22

This is one of my favorite photos of tree blossoms.
Early Spring Garden-19

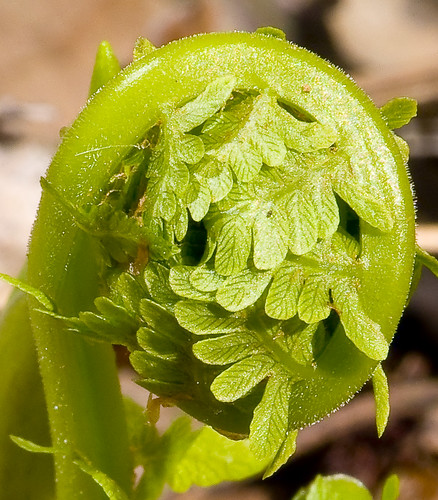
Busting OutThe subjects I found most interesting were the fiddlehead ferns that were just starting to emerge from the ground. Michele pointed them out -- otherwise I would have missed them. The photo at right shows them just as they stalks start to come out. When they get up a few inches, you can see a well developed structure even though they are only about the size of a $0.25 piece. The first photo below shows a macro view at an early stage. As they get a bit higher, a kind of red fuzz appears on the stalks and the head. The second photo below shows the fuzzy texture. In both cases I used a fill flash on the side away from the direct sun to get rid of the dark shadow.

Starting to Emerge

Fuzzy Fern

You can see all the photos from my visit in a Flickr set here.